

Browse Wall Panelling
Most popular in wall panelling
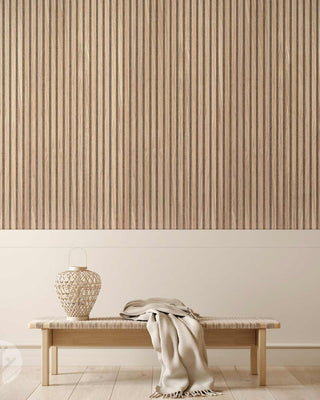
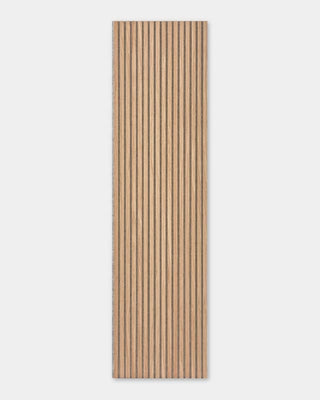
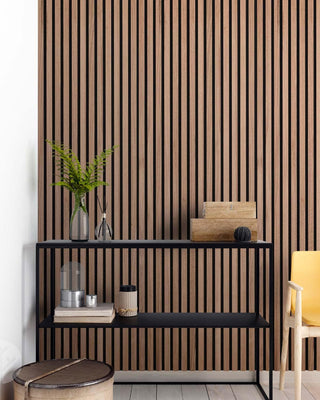
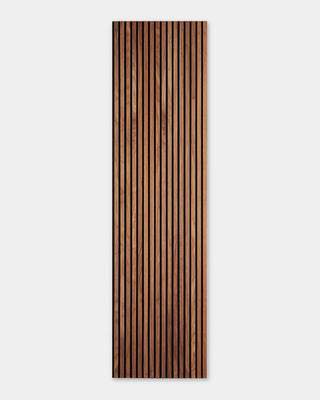
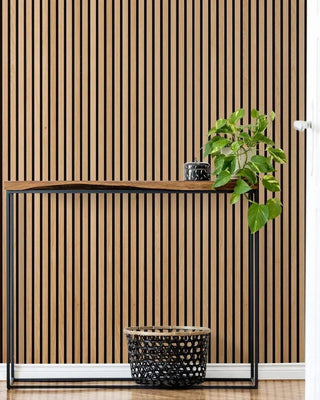
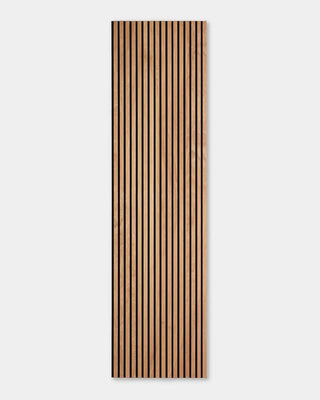
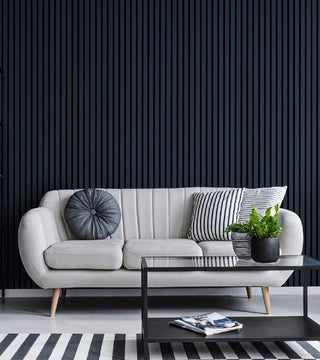
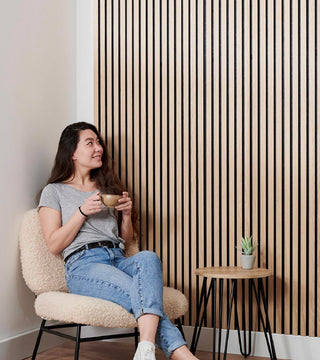
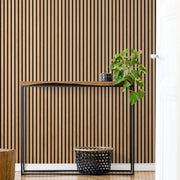
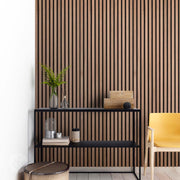
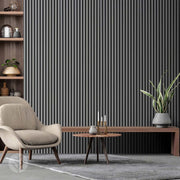
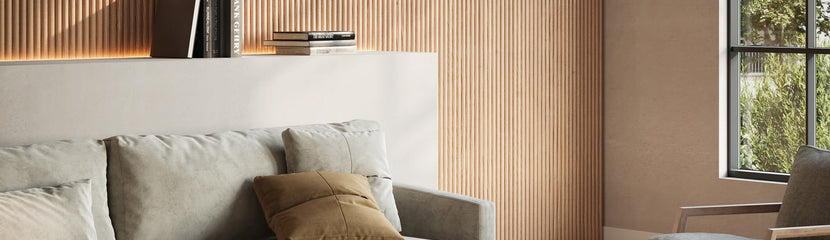
View AllAcoustic Slat Wood Wall Panels
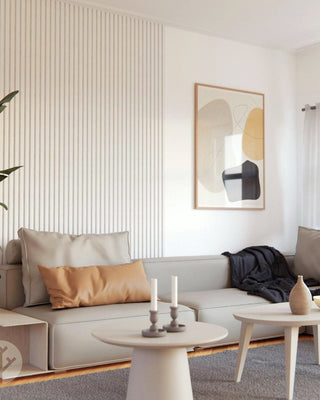
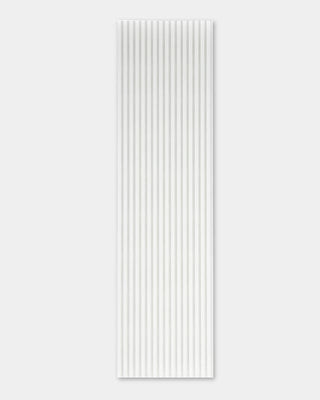
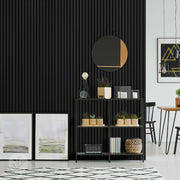
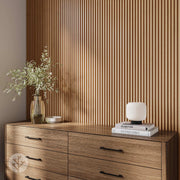
Shop allAcoustic Slat Colour Wall Panels
Shop all
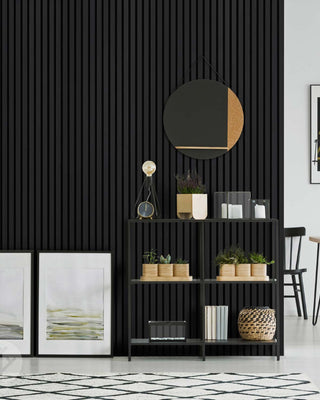
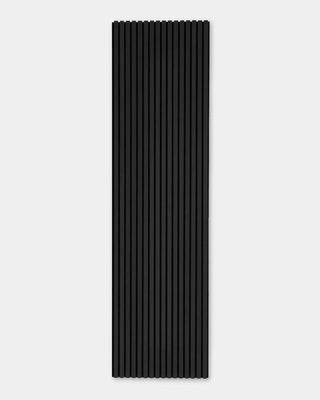
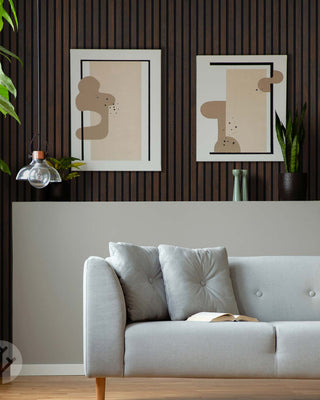
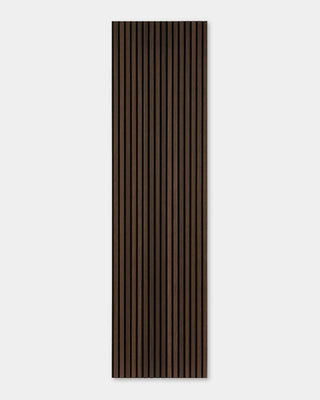
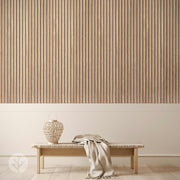
Acoustic Luxe Slat Wood Wall Panels
Shop all

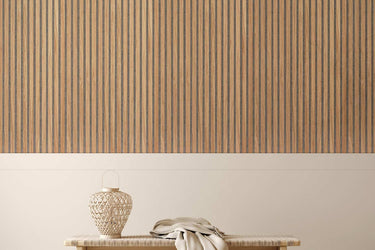
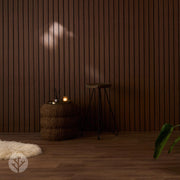
Non-Acoustic Wide Slat Wall Panels
Shop all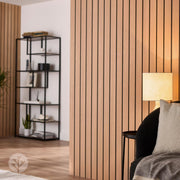
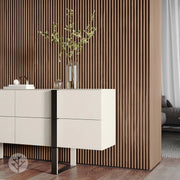
Flutted Wood Effect Tambour Panels
Shop all


Lightweight Flexible Wood Wall Panels
Shop all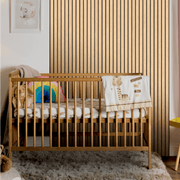

Get inspired
-

Thousands of combinations in one page.
-

The latest industry news, updates and info.
-
Learn how our customers are making big changes.
-
Learn how our customers are making big changes.
-
News and writings, press releases, and press resources.
-

We’re always looking for talented people.
Browse decoration ideas
Browse decoration ideas
Thousands of combinations in one page
Shipping fees and times
Free delivery to all of Canada
- We endeavour to process all orders within 24 hours following order placement (excluding weekends and holidays). Upon dispatch of your order, you will receive a notification email with tracking details.
Standard delivery times
- Main cities and towns 5 business days
Returns policy
All orders come with a 30 day returns guarantee. We understand that sometimes, a product may not meet your expectations. That's why we offer a simple and straightforward process for returning items to our store. With our easy return policy, you can shop with confidence, knowing that if you're not completely satisfied, we've got you covered. Please start a live chat or give us a call to start your returns process.